 A mask and dress I made recently. No particular reason, I just love making things.


A mask and dress I made recently. No particular reason, I just love making things.
I just got back from a road trip to San Francisco to attend a friend’s wedding, and I wanted to share some of the shots I got on the drive home. I just didn’t have the time to stop at every wonderful place I saw along the way, and oh there were SO many, but I managed to squeeze in a few choice stops. I’m not totally happy with the editing on some of these, but I’m nursing an old back injury that has been aggravated by three nights on lousy hotel mattresses, so it’ll just have to do. Enjoy! 🙂
My friend’s wedding was held at a palatial villa on a forested hilltop, and it was just stunning. I haven’t had a chance to ask him if he’d be alright with sharing pictures from the wedding, so I will leave those out. I can, however, share a photo of this awesome birdhouse city that was in a tree on the front lawn the villa. I need one of these in my yard!!

Once I got out of San Francisco I headed for the coast and highway 101. I haven’t driven the coast in a few years, so I was eager to see what I found. One of the places I stopped briefly (in part because I desperately needed a bathroom) was Fort Ross. There’s a reconstructed Russian fort and some lovely trails to walk. Here’s some info about the fort if you have an urge to visit some day.

I walked around the trails near the fort for a little ways and got a few nice shots. Oh I love the California coast 🙂


I have no idea what kind of flowers these are, but they’re gorgeous and I love them!

Back on the highway, heading north. I can’t remember where I was, but somewhere along the way I saw this gorgeous little shed being devoured by nasturtiums, just sitting there and glowing in the afternoon sun.

I ended up spending the night in Fort Bragg. The town itself isn’t overly exciting, but the views around there are beautiful.


As I was driving along north of Fort Bragg I saw a vulture perched on a fence by the road. I’ve never been able to get close enough to a vulture to get a shot, they’re usually very shy, but this one didn’t seem to be going anywhere. Just as I raised my camera two more burst out of the grass. Darnit, if only I’d been pointing my camera a little more to the right! They were gone before I managed to take another shot, but I’m just happy I got what I did 🙂

Farther north and into redwood country. I wandered along the Avenue of the Giants for a little ways, but I was so tight on time that I had to get back on the highway. Before I did, though, I enjoyed some lovely woods and stopped by the famous Drive-Thru Tree.


After I left the Drive-Thru tree, I was driving up a large gorge and happened to see a little chunk of abandoned highway clinging to the side of the cliff. Since I absolutely LOVE old abandoned things, I couldn’t resist hopping the fence and exploring a little ways. I didn’t get very far, it was just too hot and I was running on only 3 hous of sleep (curse you, crappy hotel mattress!), but one of these days I’m going to go back and see how far that old highway goes.

I happened to find a little lizard hiding on the cement railing along the old highway. He kept doing pushups at me. I think that’s lizard-speak for “Come at me, bro!!”. I reassured him that I was not interested in taking over his territory and went on my way.

Heading north again I finally got back to Oregon, near Klamath, where you can stop and enjoy the gigantic and amusing statues of Paul Bunyan and Babe the Big Blue Ox. My friend Artie Groovebot wanted his picture taken. He’s such a tourist…

So that was my trip. These photos represent only a tiny fraction of the wonderful things I saw along the way, but someday maybe I’ll get to go back and take my time exploring.
I made a headdress to wear to Burning Man this year, and since I was in the mood for a drive I went out the the Maryhill Stonehenge Memorial to try it out. I have to confess, I hid in my car until the other sightseers left. I’m way too shy to be weird in public. Unless it’s at Burning Man, of course. Weird is a little more normal there 🙂


I was first introduced to the Ridgefield Wildlife Refuge in 2010 when I participated in my first archaeological field school. I’ve been back many times since and every so often I get a shot that makes my day….


My friends have a rusty metal pirate ship sculpture hanging on their house, so I took a quick pic and had some fun with my free iPhone editing apps. Bored on a rainy day…..
Yesterday I went a-wandering up north a ways and found myself at Satsop Development Park. It’s a strange and wonderful little place, worth checking out if you’re ever in the area. Apparently you can sometimes go through the gate and under the cooling towers, but the gates were all closed, so I may go back one of these days and see if I can explore further. I’m not really happy with the editing on these photos, but it was the best I could do with a migraine. Here’s a little background on the place.


Sometimes I just like to slap on some makeup and become someone else, just for fun.


Yesterday I took a meandering drive through the Columbia River Gorge, and among other lovely sights I encountered the Maryhill Stonhenge Memorial. If you ever find yourself traveling along Hwy 14 east, it’s worth a stop.


Each culture has its own ideals of female beauty, and American ideals seem to me to be among the least realistic (I focus on America because it’s the culture I’ve grown up in, though my studies in anthropology have definitely given me some insights on other cultures and the stunning range of ideals therein).
To make a long story short: I’m not pretty. Never have been, never will be unless I decide to pay for a multitude of cosmetic surgical procedures, which I don’t plan to do even if I could ever afford it. Like most American women I can sit in front of a mirror and pick apart every single inch of my face and body that does not meet the modern standards, standards that are shouted at us daily by cosmetic companies, the entertainment industry, and so on.
Being a rabid Facebooker AND a visual artist (though I use the term “artist” with a bit of humor) as well as a women who just doesn’t stand up when it comes to looks, I started taking self-portraits and Photoshopping them to oblivion, until my pictures looked as good as society seems to think I should look.
Here is one of the self-portraits I posted recently:

As expected, it got a good deal of admiration from my friends, and I agree: it’s a pretty awesome picture. But then I started thinking about it: Even though I and all of my friends know what I really look like, and that the picture was heavily edited, did I really want to keep perpetuating images that are based on a fantasy that can never be achieved?
So I created this image to make my point:

The point of this “Reality Check” picture was to remind everyone that all of the amazing images we see in ads and magazines, they’re not real. No one looks like this. Even the supermodels get Photoshopped, even the most gorgeous movie stars.
And the nice part is that the unedited pic got as much praise as the edited one. Because the people who know me and love me don’t love me for a perfect imaginary face, they love me for me.
Mission accomplished, I think.
(WARNING: This post includes an image of a nude female shown from behind. While it is not sexual, I realize that nudity is bothersome or offensive to some people. This is the only post with a nude figure, so please check out my other posts if this one is not to your taste)


Many of the Photoshop techniques I used are ones I found in online tutorials and then modified to suit my own taste. I figured I would share the steps I used to edit a photo into three different types of image. I began with a basic Photoshop HDR trick, and then made some little tweaks here and there to create the three final images, so here we go! And by the way, I will write this for people who are already pretty familiar with Photoshop and the basic tools and menus. If you have any questions please feel free to post them in the comments section 🙂
Here are the three final images I created:

Statue HDR

Statue Shadows

Statue Overlay
To create these images I began with this unedited photo I took in a SW Washington cemetery a while back:

I created the “Statue HDR” image first, here are the steps:
1. Once you’ve selected an image, first resize it if needed. My camera produces images with 300 pixels per inch, and I typically resize my images to 150 ppi to make them easier to work with and upload. Once you’re ready, go to Layers>Duplicate Layer and make a copy of the image. Name it Copy 1.
2. Set the Blending of Copy 1 to Overlay.
3. Now go to Layers>Duplicate Layer again to make a copy of Copy 1. Name this new layer Copy 2, and it will already be set to Overlay, since the layer you just copied was set to Overlay.
4. Go back and click on Copy 1. Go to Image>Adjustments>Desaturate. Now, on the same layer, go to Image>Adjustments>Invert. These two steps will turn Copy 1 into a B&W negative.
5. Click on Copy 2 and go to Filter>Other>High Pass. The High Pass filter has a slider bar that goes all the way from 0 on the left to 250 on the right. I usually start at 5 or so and gradually increase the number until I like the effect and I usually choose a number somewhere between 20 and 30, but play around and experiment to see how you like various levels of this filter.
6. Once you’re done with Copy 2, click on Copy 1. Go to Filter>Blur>Gaussian Blur. Once again you have a slider bar and I also start at a low number with this filter and gradually increase it until I like what I see.
7. Click on the original layer, the image you started with, and go to Image>Adjustments>Hue/Saturation, then click the little Colorize box. This will change your real-color image into a single-color one. I tend to go for sepia most of the time, but use the Hue slider bar and see what color appeals to you.
That’s the basic process for creating the HDR image. I definitely encourage you to play with the filter settings, and play with the Blending: sometimes changing from Overlay to Soft Light can give a more subtle effect. Just play, you can always undo it!
In order to create the second image, “Statue Shadows”, I simply did the HDR steps, then went back to Copy 1, the B&W negative, and did Image>Adjustments>Inverse again. This will turn it back to a positive image and create a cool shadowed effect. This does not work for every image, it really depends on the individual picture and the various lights and darks and contrasts, but for some images it turns out quite interesting.
And in order to create the “Statue Overlay” image I first did the basic HDR process, then put a picture of a fiber optic lamp over it, at the top of the Layers list:

I set the Blending of the fiber image to Soft Light (though play with the different blending modes, sometimes Overlay looks better, or Hard Light, etc) and went to Image>Adjustments>Desaturate so the colors in the fiber image wouldn’t clash with the statue image. Then go to Image>Adjustments>Brightness/Contrast to make the fibers (or whatever your overlay image is) lighter or darker for the best effect. I also moved the fiber image around so that the fibers fell on the statue image in just the right place, since the fibers are clearly more dense and bright near the bottom, which overwhelmed the statue.
That’s pretty much it. Get some pictures, play with filters and layers and blending, and make something cool!
A few more tips: Each of the layers can be played with, and sometimes small changes in one layer can drastically effect the final image. Brightness/Contrast and Levels can help if a layer is too bright or dark, or doesn’t stand out enough. Hue/Saturation can make colors vibrant or subtle.
Another effect I like sometimes is the Glowing Edges effect. Sometimes a final image is just too bright and washed out, so once I have my three layers (Original, Copy 1, Copy 2) I go back to the original and do Layer/Duplicate Layer again. This will give you a fourth layer that sits on top of the original in the Layers window, and underneath the two copies. On this fourth layer start by setting the Blending to Soft Light, then desaturate it. Now go to Filter>Stylize>Glowing Edges. Once the filter window pops up I like to set the Edge Width to the lowest setting (1), Edge Brightness to the highest (20), and Smoothness to the highest (15). Once you apply the filter you should see you overall image looking quite a bit darker, with a thin white line around all of the edges. I then like to go to Filter>Blur>Gaussian Blur to soften that white line, and again you can play with all these settings and create all kinds of neat effects.


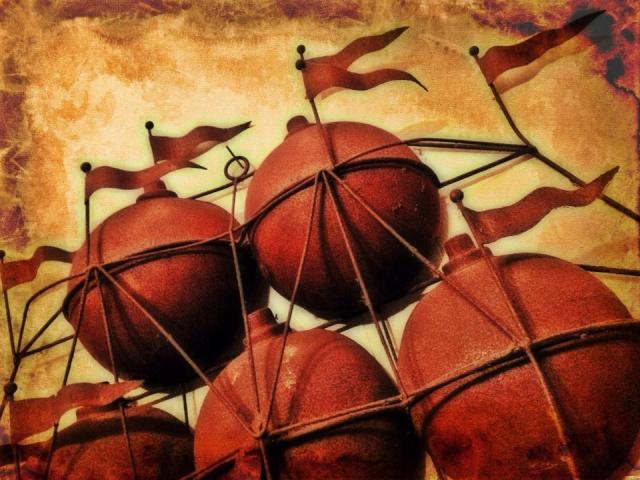
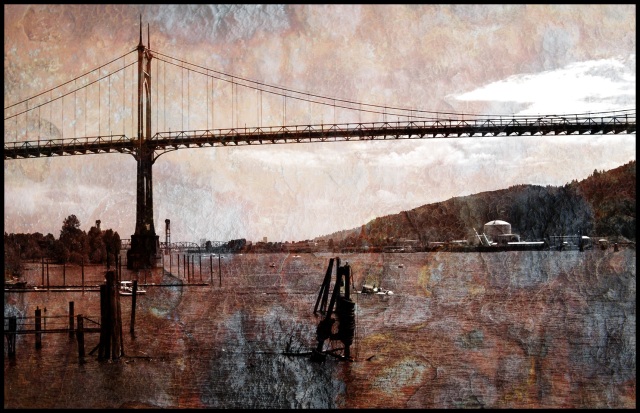
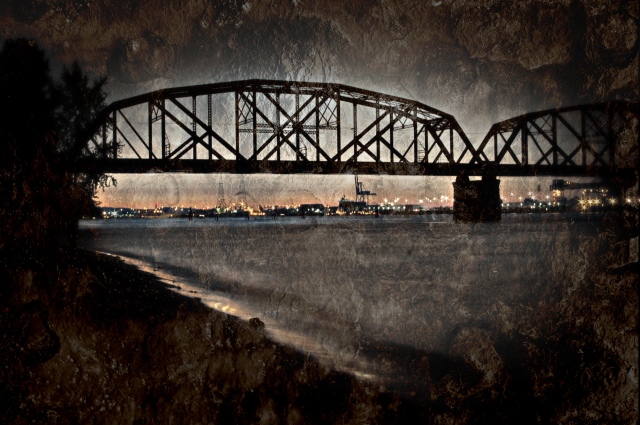
Maybe two years ago or so I found an online tutorial for making HDR images with Photoshop. I tried it out, loved the results, and over time tinkered with the steps and put my own twist on it (As I am prone to doing. Seriously, I can’t even follow a simple recipe without meddling with it at least a little bit). Here are some of my favorite shots using this technique. When I play with pictures, that’s exactly what I’m doing: playing. I’m not thinking, “I must make it perfect so people will buy it”, I’m just experimenting and having fun. This is why I don’t call myself a professional photographer 🙂


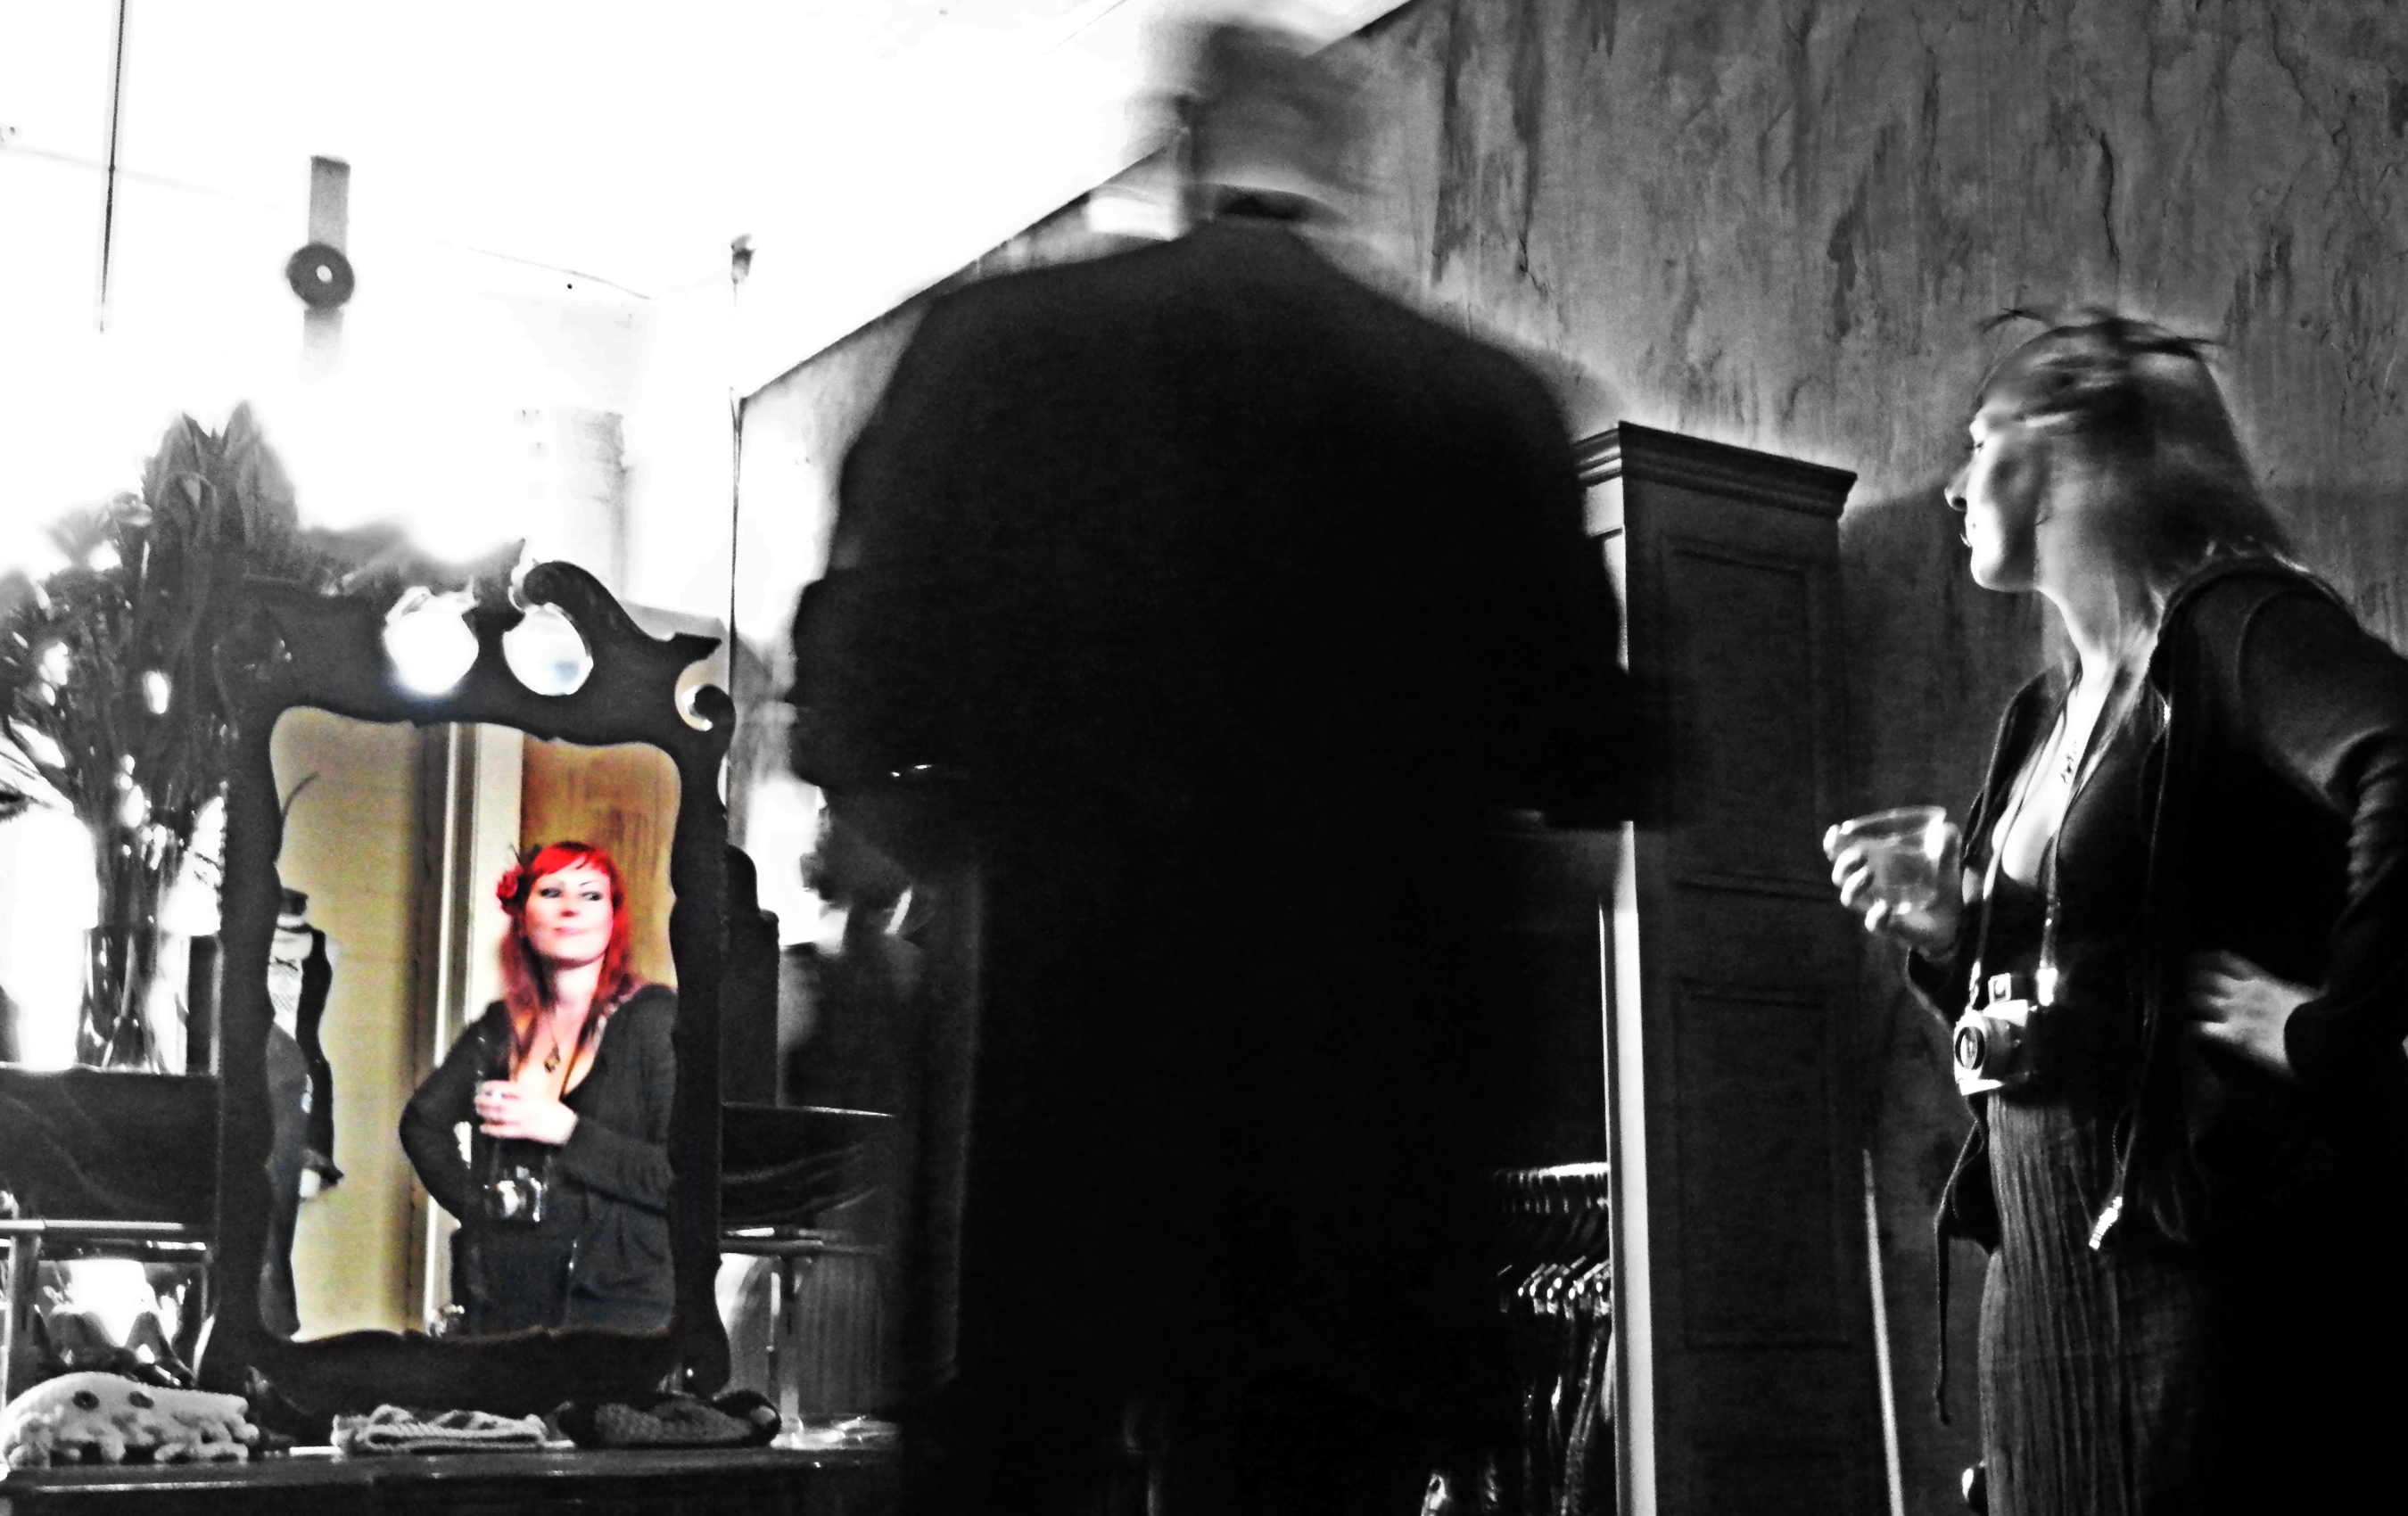
I was intimidated by B&W photography for the longest time. I had a hard time being confident with bold contrasts and the lack of color, though I have no idea why. Fortunately I got over my hangup and here are a few of the many B&W’s I’ve created over the last 4 years or so, in no particular order…..


The only photo I took on the night of July 4th that actually came out. Go figure. I wandered off to a little beach after dodging all of the usual fireworks-watching spots, which were packed. I ended up being invited to share a campfire by a group of four young men whom some would consider, shall we say, of the lower classes. They offered refreshment, chatted about various run-ins with the law and which cities are the most supportive of graffiti artists (just because I’m a middle-class white woman with a college degree doesn’t mean I can’t talk about graffiti), I told them a bit about archaeology and photography. Despite the differences in our social circles, for lack of a better term, we had a very nice time hanging out. Just a note to all the folks who are scared of people from different socioeconomic levels: we’re all human, and we all look weird to someone.
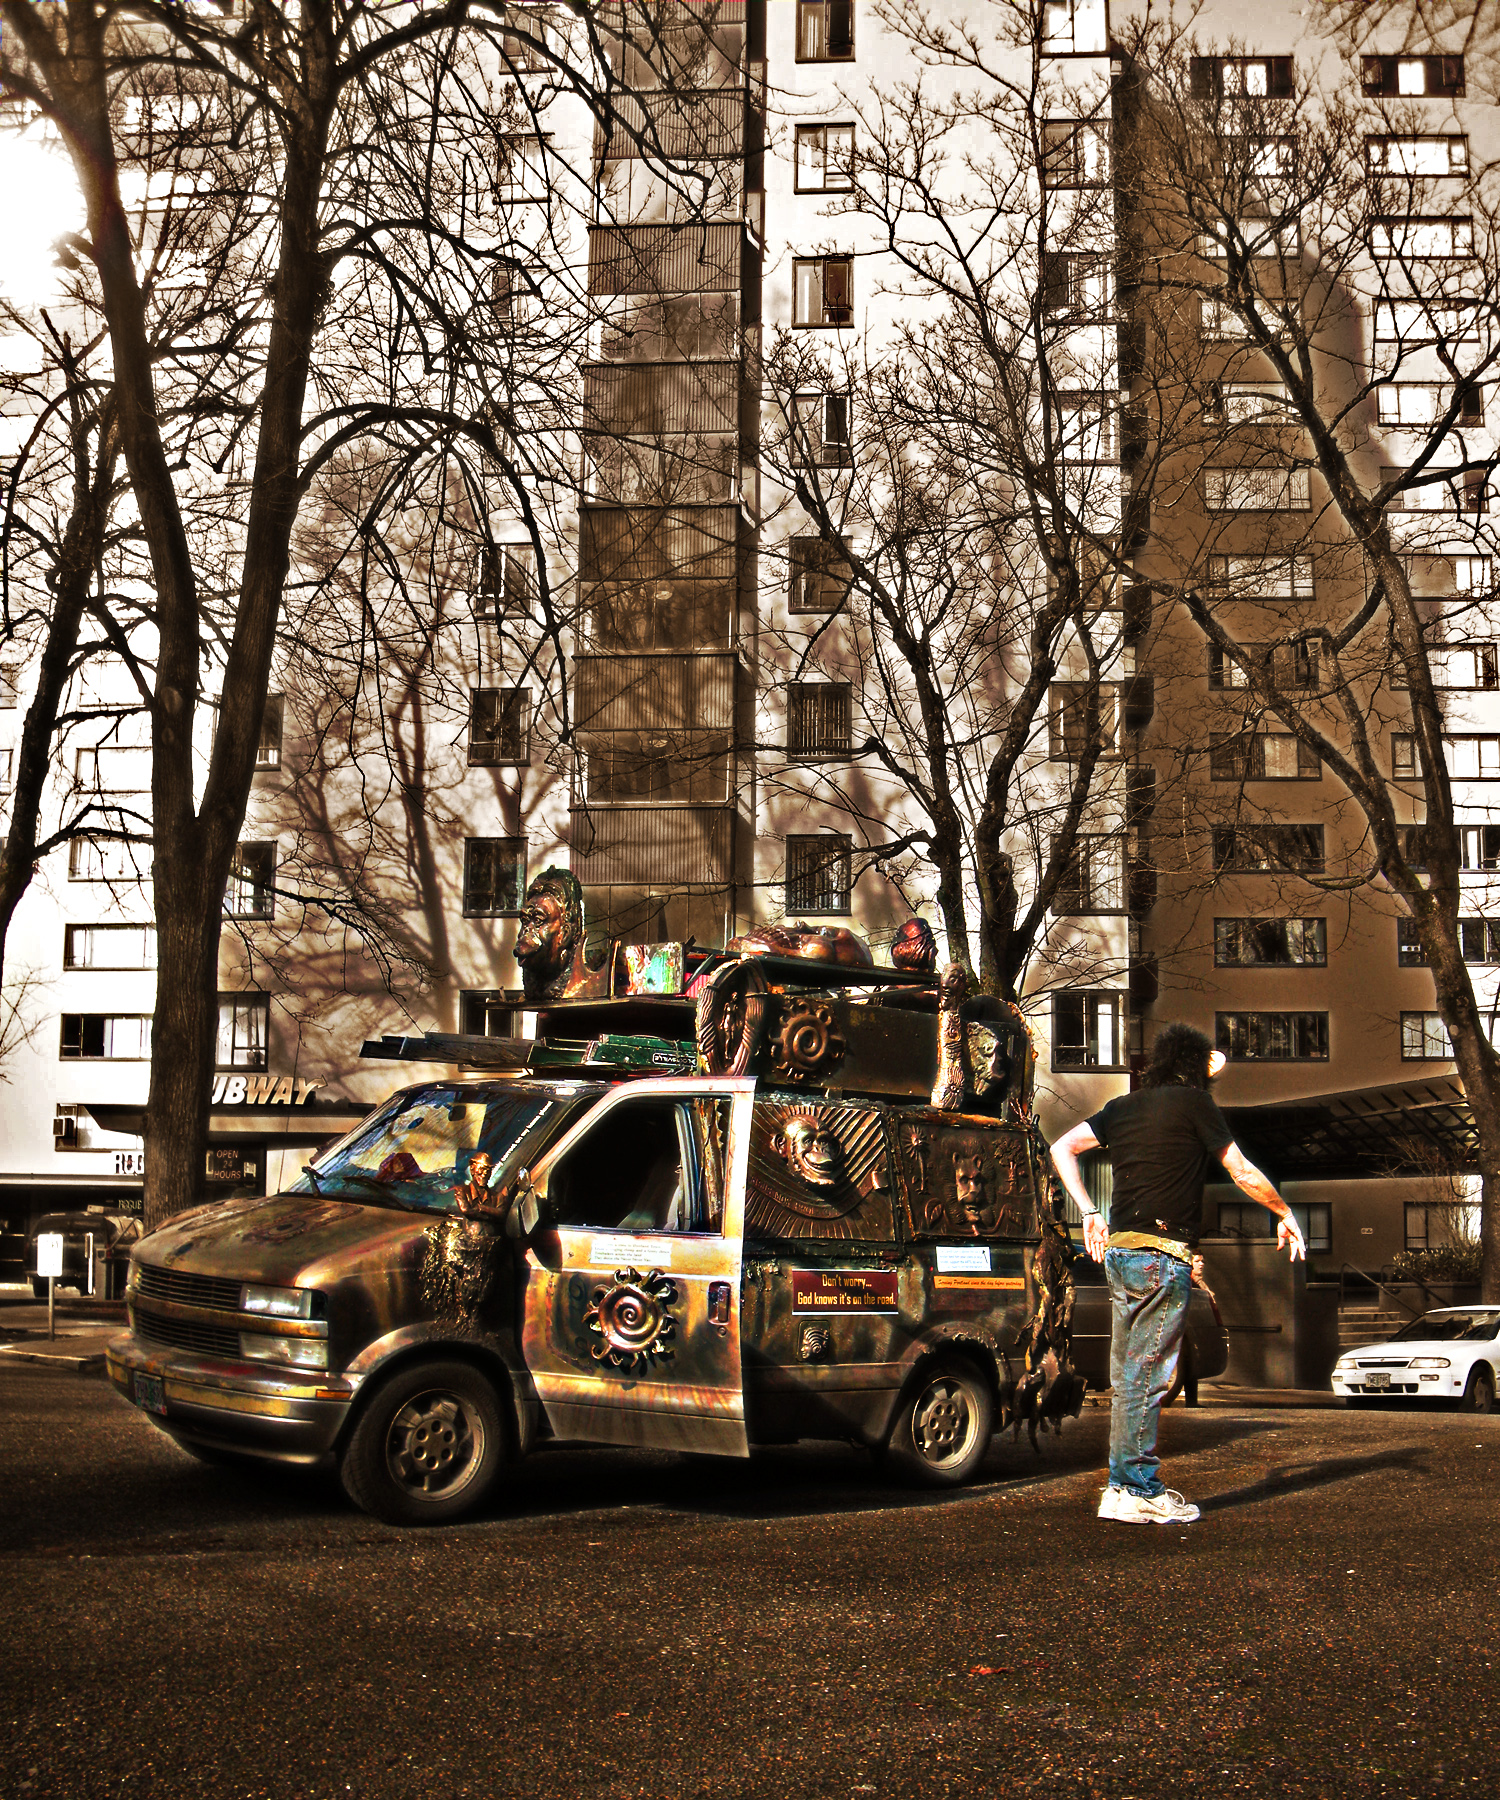
Just a random shot, no plan in mind, but it became one of those images that seems to tell a story, though for the life of me I can’t decide what that story is.
